-
E-mail
sales-sci.cn@horiba.com
-
Phone
13681872955
-
Address
Unit D, 1st Floor, Building A, Lianqiang International Plaza, 1068 Tianshan West Road, Shanghai
HORIBA (China)
Briefly describe the operational process of molecular fluorescence spectrometer specifications
Date: 2025-08-21Read: 3
In the fields of chemistry, biology, materials, and medicine research, molecular fluorescence spectrometers serve as probes to reveal the microscopic luminescent properties of substances. By exciting the sample to produce fluorescence, the emission spectrum, excitation spectrum, fluorescence intensity, and lifetime parameters are measured. They are widely used in protein conformation analysis, DNA detection, fluorescence probe development, and environmental pollutant identification. The high sensitivity (up to ppb level) and selectivity of molecular fluorescence spectrometers make them the choice of modern laboratories. To ensure accurate data and stable instruments, it is necessary to follow scientific and standardized operating procedures.
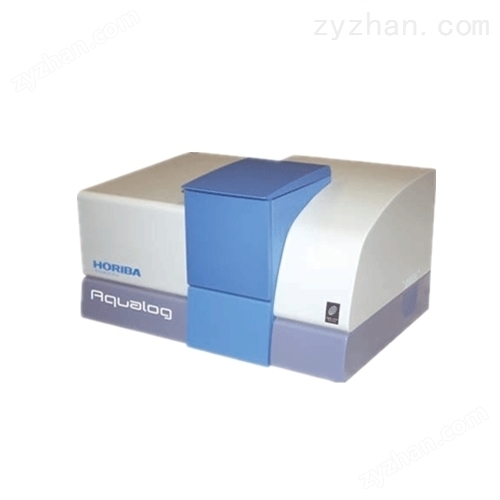
Step 1: Environmental preparation and instrument preheating
Ensure a clean laboratory environment, avoid light, maintain stable temperature (20-25 ℃), and avoid strong vibrations and electromagnetic interference. Turn on the power of the instrument, and start the light source (xenon lamp or laser), main unit, and cooling system (if necessary) in sequence. Preheat for 30 minutes to ensure stable light source output and constant detector temperature, avoiding baseline drift.
Step 2: Sample preparation and loading
Prepare appropriate concentration solution samples according to testing requirements to avoid excessive concentration causing "self absorption" or "fluorescence quenching". Use a clean quartz colorimetric dish (glass has strong absorption of ultraviolet light and is not suitable), and inject the liquid to 2/3-3/4 of the dish height. Wipe the fingerprints and droplets on the dish wall, align the colorimetric dish marking line with the direction of the light path, and gently place it in the sample chamber to avoid scratching the optical surface.
Step 3: Parameter Setting and Mode Selection
Set the testing mode through control software:
Emission spectrum: fixed excitation wavelength, scanning emission wavelength range;
Excitation spectrum: fixed emission wavelength, scanning excitation wavelength;
Quantitative analysis: Set a fixed excitation/emission wavelength and measure fluorescence intensity.
Set parameters such as slit width (affecting resolution and sensitivity), integration time, scanning speed, etc., to balance signal-to-noise ratio and testing efficiency.
Step 4: Background correction and baseline scanning
First, place a blank solvent (such as deionized water, ethanol) colorimetric dish and perform "background subtraction" or "baseline correction" to eliminate solvent Raman scattering and instrument background signals. This step is particularly crucial for low fluorescence intensity samples.
Step 5: Sample measurement and data collection
Replace with the sample to be tested and start scanning. Observe the real-time spectral curve and confirm that there are no abnormal peaks or noise. Key samples can be scanned repeatedly to verify reproducibility. If fluorescence lifetime measurement is to be performed, it is necessary to switch to Time Dependent Single Photon Counting (TCSPC) mode and use a pulsed light source and high-speed detector.
Step 6: Data saving and instrument reset
After the test is completed, save the data to the specified path in a timely manner and export it to a common format (such as. csv,. txt). Take out the sample, clean the colorimetric dish with solvent and air dry. Turn off the light source (especially the xenon lamp), host, and software to avoid frequent switching. When not in use for a long time, cover with a dust cover.